Mailbox in Thunderbird
When you create a ULYSSIS account, you get an email address: username@ulyssis.org. It is possible to check this mailbox via https://webmail.ulyssis.org. However, it is far more convenient and efficient to use a standalone email client. This article will explain the process of adding a mailbox to the Thunderbird client. Do note: this article is written for users who opted for a ULYSSIS mailbox. not for users who opted for a forwarded email address (more information about forwarders is available at https://docs.ulyssis.org/Forwarders).
Thunderbird
Thunderbird is a free and open-source email client made by Mozilla. It is available for download at https://thunderbird.net. The installation process is fairly easy and thus will not be covered in this article.
Adding a ULYSSIS mailbox to Thunderbird
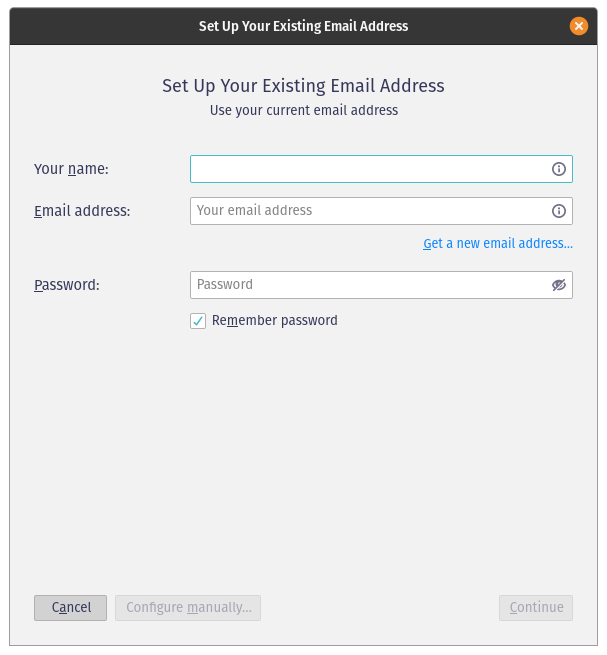
If this is the first mailbox being added to Thunderbird, the following pop-up should come up:
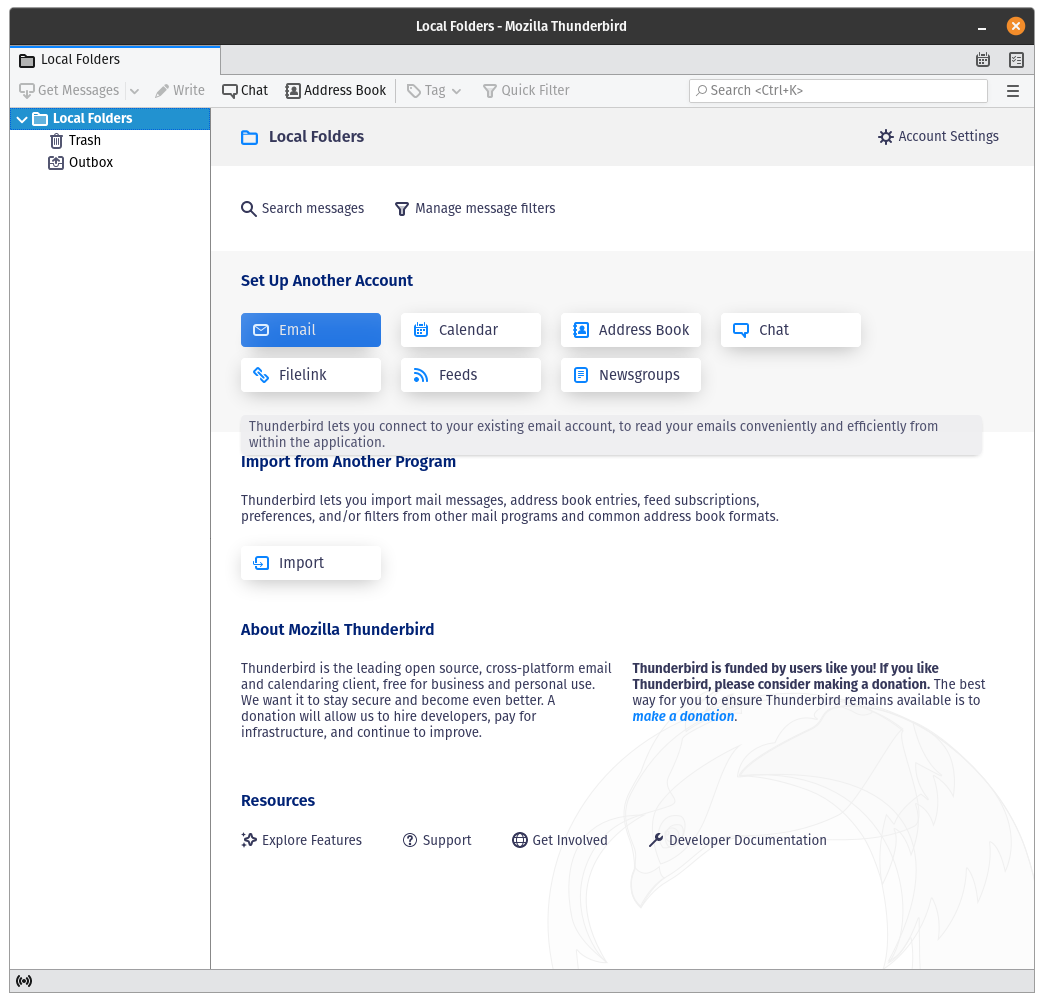
If the pop-up did not come up, or this is not your first mailbox; it is possible to click the Email button (highlighted in blue in the screenshot below) under the "Set Up Another Account" section:
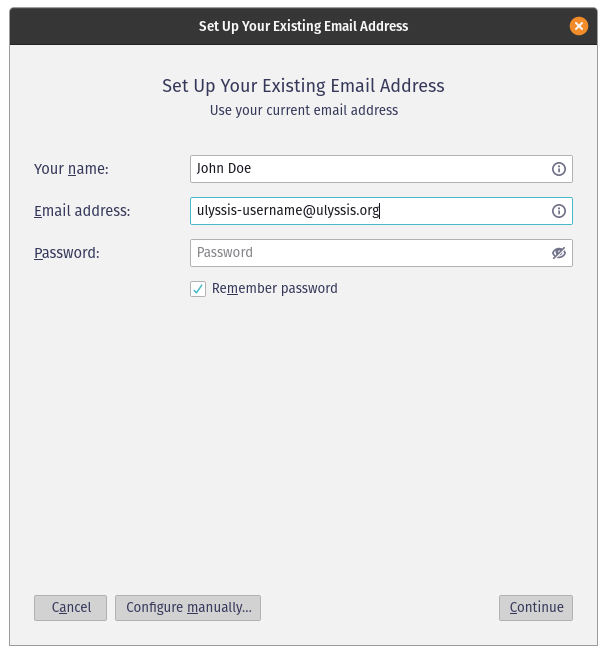
Once the pop-up is present, it becomes possible to dial in the settings for a mailbox. The first step is to fill in the Email adress field:
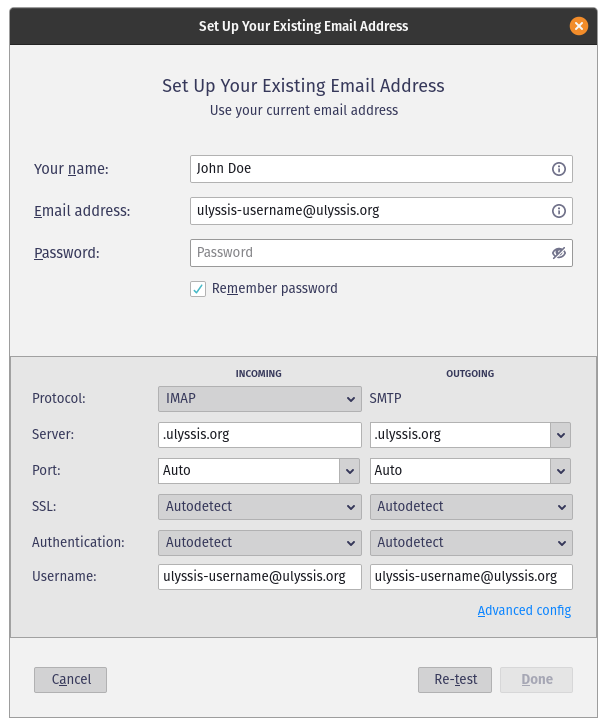
Notice, the button "Configure manually..." on the bottom left has become clickable (as seen on the above screenshot). When this button is clicked, the pop-up should look like this:
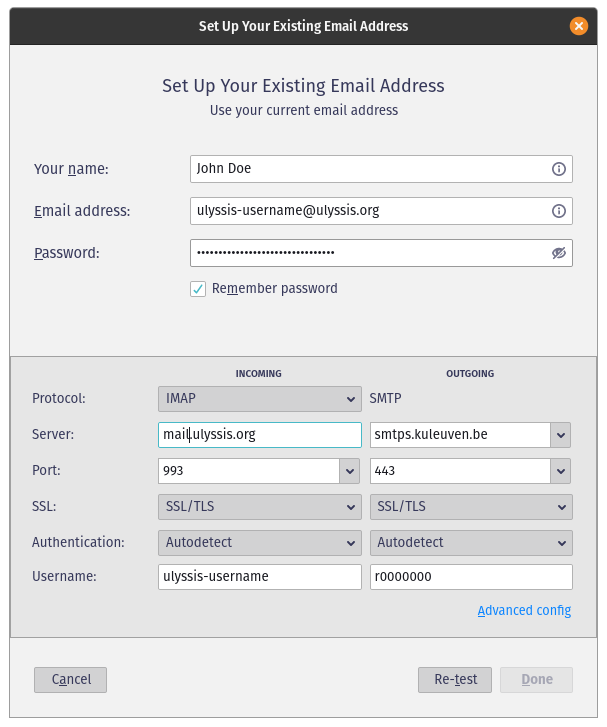
Now, fill in the information as follows:
| INCOMING | OUTGOING | |
|---|---|---|
| Protocol: | IMAP | SMTP |
| Server: | mail.ulyssis.org | smtps.kuleuven.be |
| Port: | 993 | 443 |
| SSL: | SSL/TLS | SSL/TLS |
| Authentication: | Autodetect | Autodetect |
| Username: | ULYSSIS-username | r-number |
![]() notice
notice
The ports used to configure a ULYSSIS mailbox, are not automatically recognized by Thunderbird. This means they should be entered manually instead of using the drop-down.
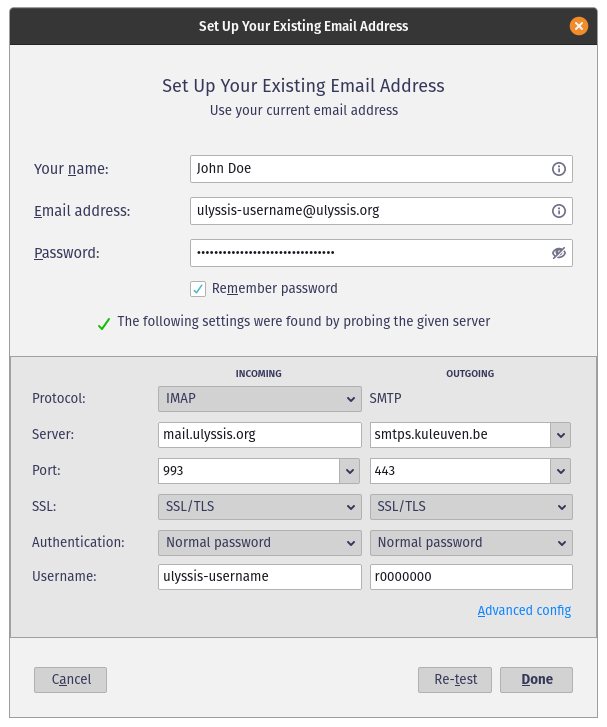
The "Re-test" button on the bottom right of the following screenshot is used to validate the settings. When pressed, the pop-up should look like this:
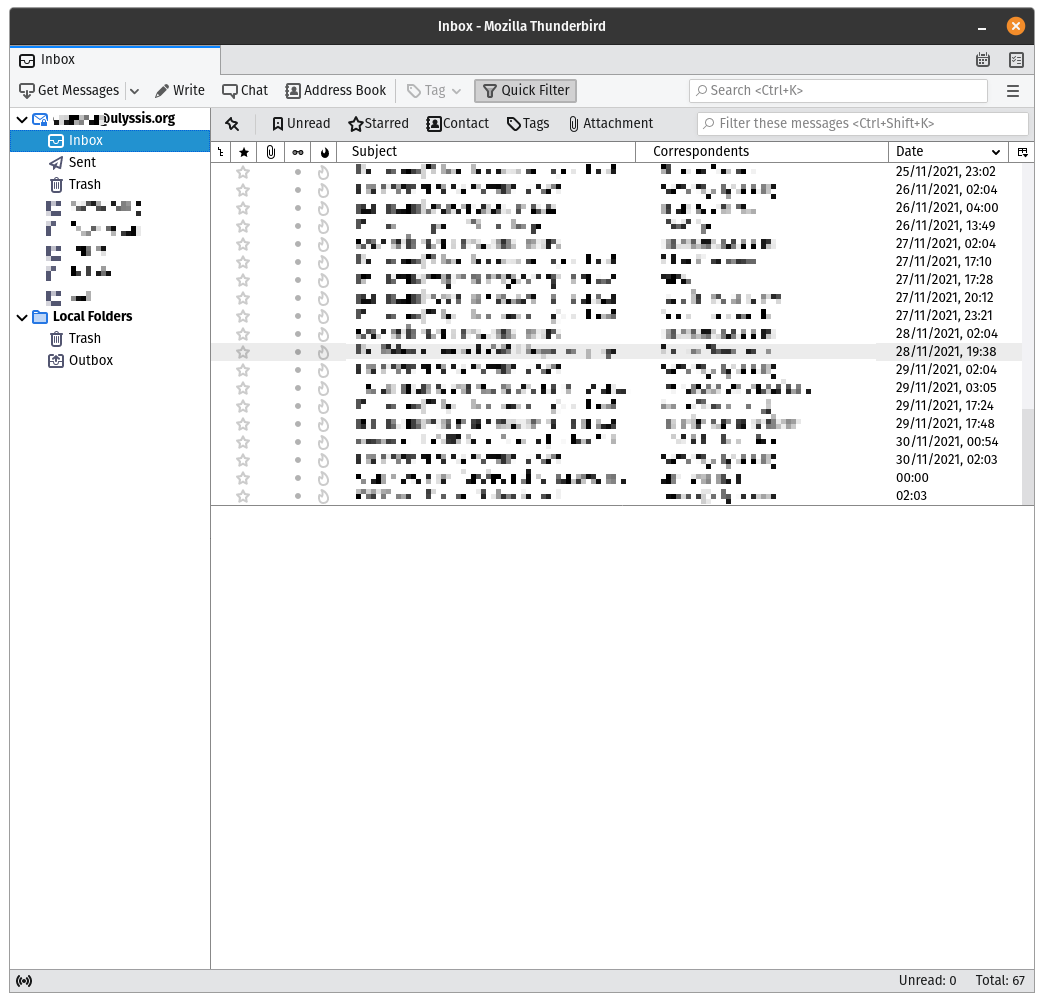
If this test succeeds, the pop-up can be closed by pressing the "Done" button on the bottom right of the previous screenshot. When the pop-up closes, a mailbox should be added to the left side of the main Thunderbird window. By clicking on the inbox tab, the emails should load in (as seen in the last screenshot). After this first setup, the mailbox should synchronize automatically.
![]() notice
notice
When sending the first email after configuration, Thunderbird might show a pop-up: "Enter your password for r0000000 on smtps.kuleuven.be:". It is really important to enter your KU Leuven password (the password used for central login), otherwise your email will not be sent.
